


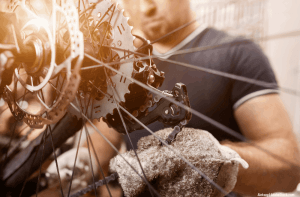
Every cycler is most likely aware of what it feels like to have a broken bicycle chain. If you have a chain breaker tool with your bicycle, then the chain repair process is going to be quite easy for you. With the help of this tool, you can carry out the routine bike maintenance on your own.
Let’s show you just how easy a bicycle chain repair really can be.
Step 1: Shift Your Bicycle to Middle Gears
The first step of chain repair is to shift your bicycle to its middle gears. This is because it will be softer and easier to navigate. The extreme gears, on the other hand, will be too tight and may cause the chain to snap. If you have only one gear in your bicycle, you may need an extra chain link to proceed.
Step 2: Remove the Chain and Clean with Water and Degreaser
For your bicycle chain repair to happen you will need to remove it. Once the chain has been removed, use an old toothbrush to scrub off grime, dirt, or rust from the chain links. This is important because a dirty chain will be under more stress as opposed to a clean one.
Step 3: Use Your Chain Repair Tool to Push the Pin Halfway out of the Broken Link
The chain break tool can be very helpful and easy to use. Each chain link is attached to other links which are exactly how you’ll locate the broken link. The tool can be used to push the pin out halfway and not completely through.
Step 4: Pull the Broken Link out and Throw It Away
While the pin is halfway out, pull out the broken link. The pin will then be used to attach the new link. You are almost on your way to full chain repair after this step.
Step 5: Thread the Chain Back Together and Insert a New Link
While still on the pulley, hold the broken chain so it is back together at the broken link and then insert a new link into the half-inserted pin to complete the chain.
Step 6: Use the Chain Break Tool in Reverse
By doing so, you will be able to screw the pin into the new link to firmly tighten the chain. While doing so, make sure that you work slowly so that the chain is all lined up. Once this has been done, you should grab the chain and move it up and down to loosen the new connection. This will also help prevent the binding of the new link with the old links.
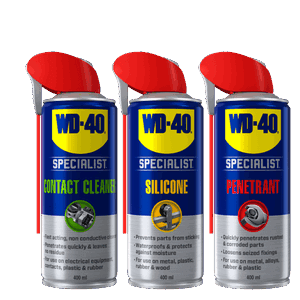
Step 7: Complete the Chain Repair Process with WD-40
If you’re a cyclist, then you are likely to understand the importance of chain lubrication. All you need to do is flip the bicycle over and drop bits of the lubricant into the chain. The key, however, is to run your finger over the chain and it shouldn’t come up with a puddle of WD-40.
So, there you have it. Bicycle chain repair has never been as easy as this 7-step guide.
To follow all the news of WD-40 Africa, follow us on Facebook and Instagram !


