


Don’t you just love using your luggage even when its warranty has expired long ago? Well, why won’t you? Vintage luggage carry-ons look very fashionable. Even though this is the case (pun unintended), you wouldn’t like it if you had a stuck luggage handle, making you wrestle with its button.
If you’re facing such a problem, you shouldn’t worry. We have a very easy fix for you.

Step 1: Gather Up Supplies
The only materials you need are some tape and WD-40. It wouldn’t matter which type of tape you get but the thickest kinds of tape will give you the most durable solution. You will also be even better off if you get the kind that is used for insulating electrical wires.
Step 2: Debugging Your Luggage
Having some basic knowledge of telescopic handle mechanics is helpful in this regard. In simpler terms, here you will dig into why your luggage handle gets stuck and doesn’t extend when you press its button. To do this, open up your luggage; you will find a zip where the handle’s mechanics should be.
Pull this zip down and the fabric; you’ll find the shell of your luggage and the mechanism that manages the handle. You will also be able to locate the guides of the handle along with those pins that are stopping the handle from budging from its place. Lastly, you need to push both buttons to determine which of them seems to be getting stuck.
Have you determined which of the pins is faulty? Good! Now, we can move on over to the quick fix.
Step 3: Tape Over the Faulty Pin
Once the faulty side of your luggage handle has been identified, you should work on preventing it from getting stuck. Now push the pin into the handle mechanics manually. Make sure that you have fixed the problem and the handle is now budging.
If the handles are moving easily, then take out your tape and begin wrapping it over the faulty pin. Make sure that you wrap around the faulty pin at least twice or thrice with the same piece of tape. Once the tape has been wrapped around the handle bar, make sure that the mechanics are now working normally.
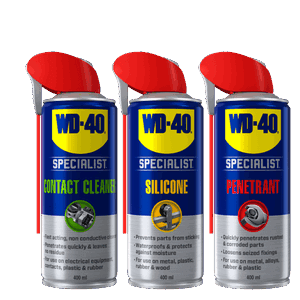
Step 4: Lubricate the Luggage Handle
This is where you will need your WD-40. Use it to make the sliding application of the luggage handle work more smoothly. Use the nozzle provided with the WD-40 to apply a few drops at the very beginning of the guide (where you pull the handle out from) and wipe off any excess.
So there you have it – you can now rock your vintage luggage without having to worry about embarrassing yourself at the airport with a stuck luggage handle!
Remember to wash your hands after use, especially if you get any WD-40 on them.
To follow all the news of WD-40 Africa, follow us on Facebook and Instagram !


